
How to creat blog pages
Create a new page on your blog
You
can organize your blog into separate sections like “About me,” “Contact
me” or “Advertise” using pages. Pages appear as either tabs on the top
of your page or links on the side of the page. Pages differ from your
homepage because they are usually used to display content that doesn't
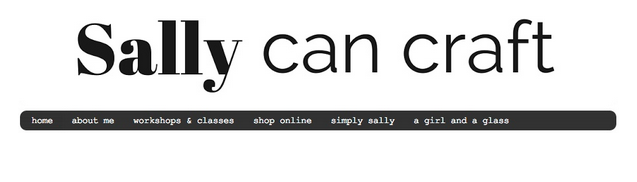
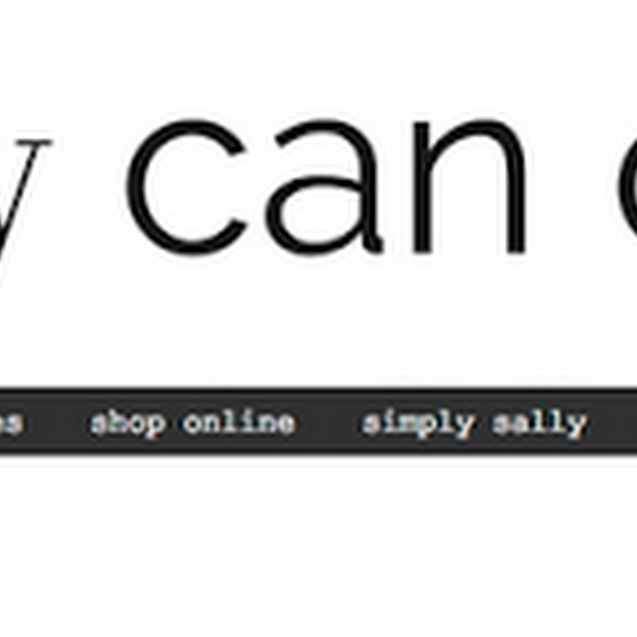
need to change very often. For example, the blog below has pages for
“about me,” “workshops & classes,” “shop online” and more.
Create a new page
- Sign in to blogger.com and click on your blog.
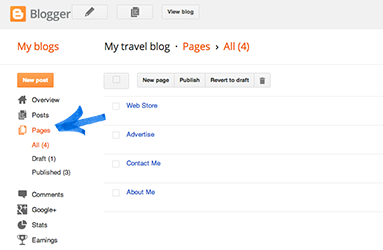
- Select “Pages” from the left navigation bar on your dashboard.
- Click New Page.
- Click Save to create a draft of the page you can review and publish later. You can also click Preview to open a new tab previewing what your new page will look like. Click Publish to create the live page on your blog now.
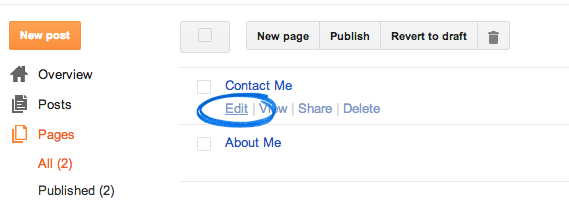
Edit pages
You can edit a page you’ve created to add new content, images, or videos.- Select “Pages” from the drop-down menu of your dashboard.
- Click the “edit” link below the page you’d like to edit.
- Make edits to your page.
- Click Update to publish the page with your edits, or Revert to draft to publish the page later. You can also click Preview to open a new tab to see what your edited page will look like.
If you want to delete a page linking to an external
site, you have to delete it from within the Pages gadget by clicking the
“x” to the right of the link.
Edit page layout
You can change where your pages appear on your blog by adding the page list gadget to your blog:- Select “Layout” from the drop-down menu of your dashboard.
- A preview of your blog’s layout will appear. Your can choose to have your pages appear on the top, bottom, right or left side of your blog. Click the “Add a Gadget” link beside the section where you'd like your pages to show. For example, if you’d like them to appear as tabs on the top of your blog, click the “Add a Gadget” link at the top of your layout.
- Select the “Pages” gadget from the “Add a Gadget” list.
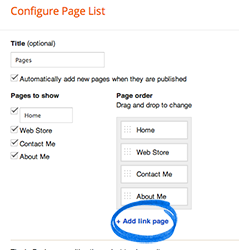
- Under “Pages to Show,” check the boxes next to the pages you would like to display on your blog.
- Under “Page Order,” drag and drop the boxes to choose the order in which your pages will appear.
- Click Save.
- Click Save arrangement in the upper right to save your layout.
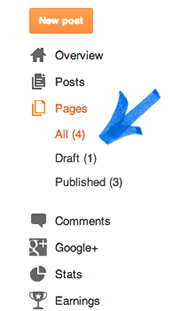
Manage drafts and published pages
You can navigate between viewing all your pages, just your drafted pages, or only your published pages using the sidebar on the left of your page. Under the “Pages” section of the sidebar, you should see categories for All, Draft, and Published with the number of pages in that status in parenthesis. You may also see a category for Imported pages if you’ve imported your pages from another platform like Wordpress.Create a page linking to an external site
To create a page that links to a site outside of Blogger:- Select “Layout” from the drop-down menu of your dashboard.
- A preview of your blog’s layout will appear. Click the “Add a Gadget” link beside the section where you’d like to show your pages.
- Select the “Pages” gadget from the “Add a Gadget” list.
- Click “+Add link page.”
- In the window that opens, fill in the page title and the web address you’d like to redirect readers to when they click on this page.
- Click Save Link.
- You should see the new page listed under “Page Order.” Click Save at the bottom of the gadget window.
- Click Save arrangement in the upper right to save your layout.
Details about pages
- Each blog can have up to 20 pages.
- The way you choose to display your pages (for example, top tabs) applies to all of your pages.
- Certain third party templates may not support pages as top tabs, but pages can still be added as side links.


No comments:
Post a Comment